Sidebar
Workspace
Workspace is the lower group in the sidebar. In the pictures it is Signing, Audit, People & access, Security, and Settings. Company administrators see the setup items. Other people see what their role allows.
Signing has its own page. The rest of the group is below. Rules is a separate page for filing incoming documents. It is not a row in the sidebar pictures of this company.
Rules
Rules runs on every document as it arrives, in priority order. The line under the title says identifier rules stamp a formatted tag on the first match, and they do not move the file.
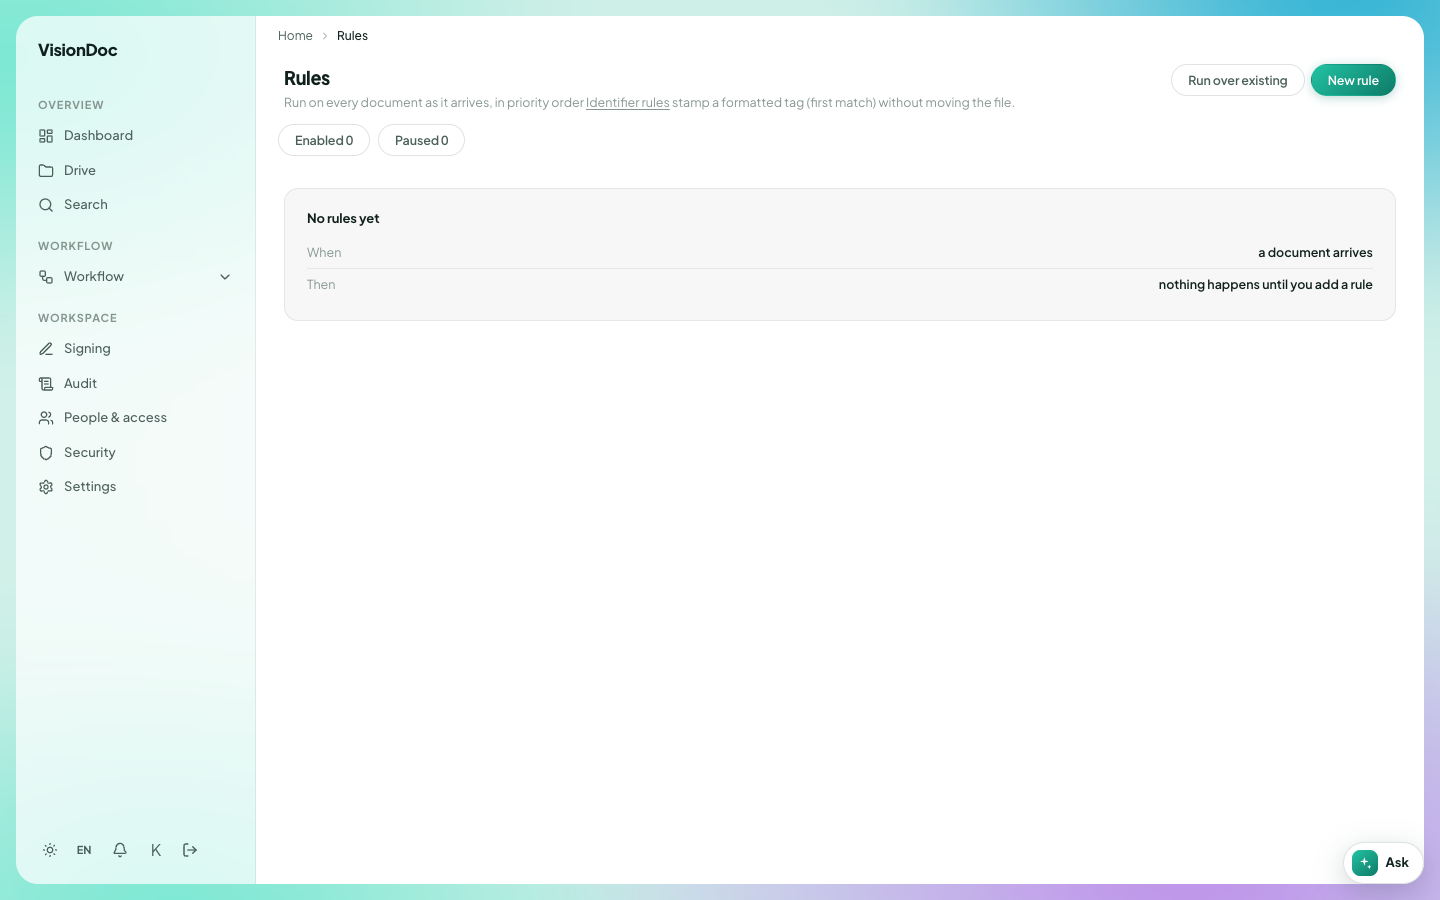
The empty card says No rules yet. The two lines under that are When a document arrives and Then nothing happens until you add a rule. Enabled is 0. Paused is 0.
New rule adds one. Run over existing applies the rules to documents already in Drive.
Example: invoices should carry a tag such as INV-2026 as soon as they land, without anyone moving the file. Add that as a rule with New rule. Until you do, a new file arrives and nothing happens, which is what the empty card says. After the rule is on, Enabled becomes 1. Run over existing stamps the invoices already in the library. Pause a rule when you want it to stop without deleting it, and Paused goes up by one.
Audit
Audit reads Every read, move, correction and download, with who did it.
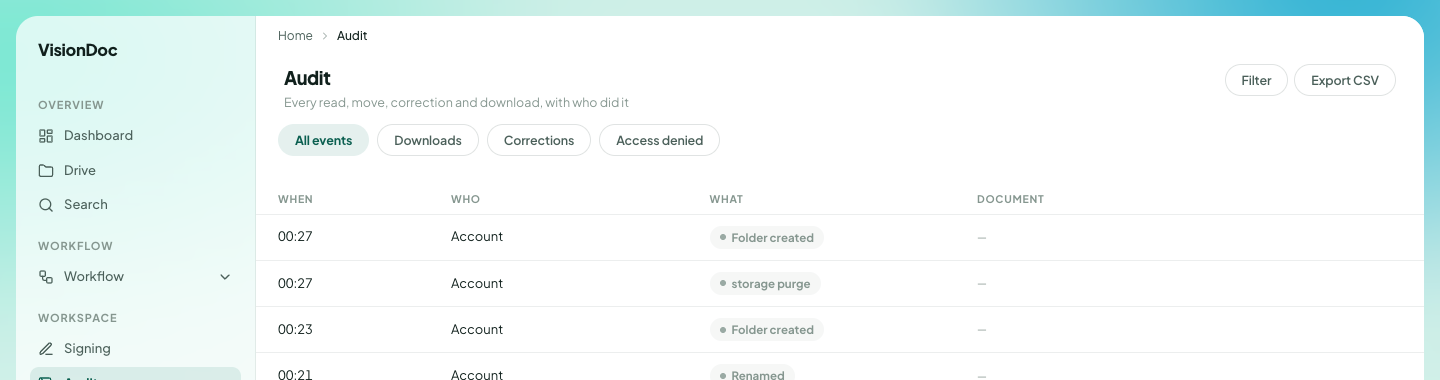
Four filters sit under the title: All events, Downloads, Corrections, and Access denied. Filter narrows the list further. Export CSV downloads it.
The columns are When, Who, What, and Document. In the picture, Who is Account on each row. What is Folder created, storage purge, Folder created again, and Renamed. The times are 00:27, 00:27, 00:23, and 00:21. Document is a dash on these rows.
Example: someone says a folder appeared overnight. Open Audit, leave All events selected, and read the Folder created rows. To see only files that left the workspace, select Downloads. Export CSV keeps a copy of that view. The picture stops before any file name.
People & access
People & access says Who can sign in, what their role allows, which group they are in.
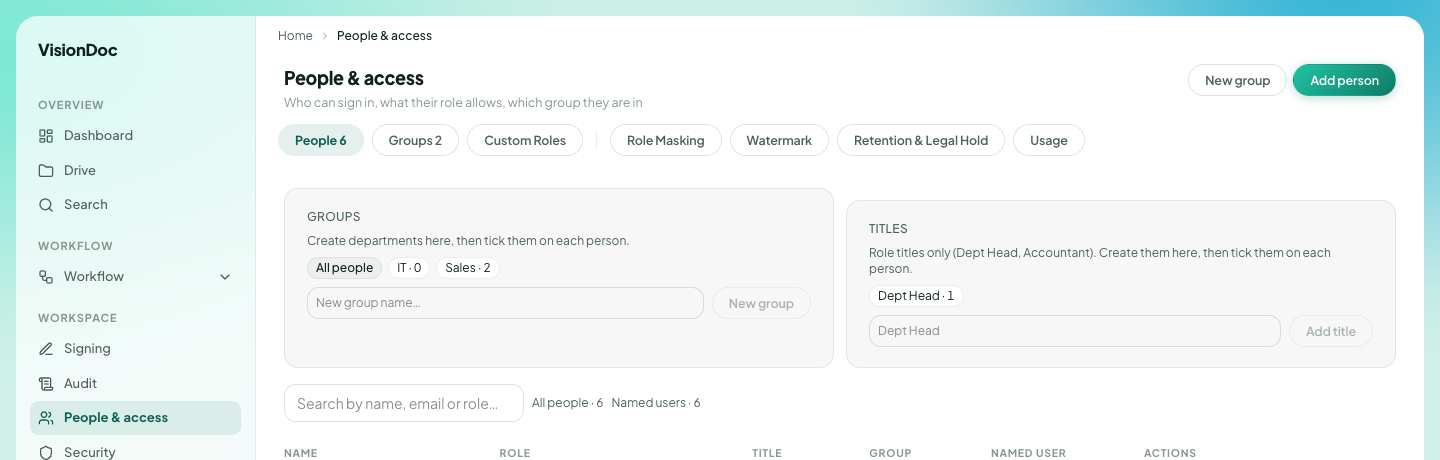
New group and Add person are at the top right.
| Tab | In the picture |
|---|---|
| People | 6 |
| Groups | 2 |
| Custom Roles | Roles you add |
| Role Masking | What each role sees |
| Watermark | A mark on the way out |
| Retention & Legal Hold | How long files stay |
| Usage | Storage and reading for this company |
Groups says Create departments here, then tick them on each person. The chips are All people, IT · 0, and Sales · 2. The box reads New group name….
Titles says Role titles only (Dept Head, Accountant). Create them here, then tick them on each person. The picture has Dept Head · 1.
The table columns are Name, Role, Title, Group, Named user, and Actions. The search box reads Search by name, email or role…. The line beside it says All people · 6 and Named users · 6.
Example: two people work in sales. Sales · 2 is that group. Type a new department in New group name… and click New group, then tick it on each person. Dept Head · 1 means one person already has that title. Add another title in the Titles box, click Add title, and tick it on the person who should have it. The names are not in this picture.
Security
Security is Your sign-in details. It is your own account, not the company list.
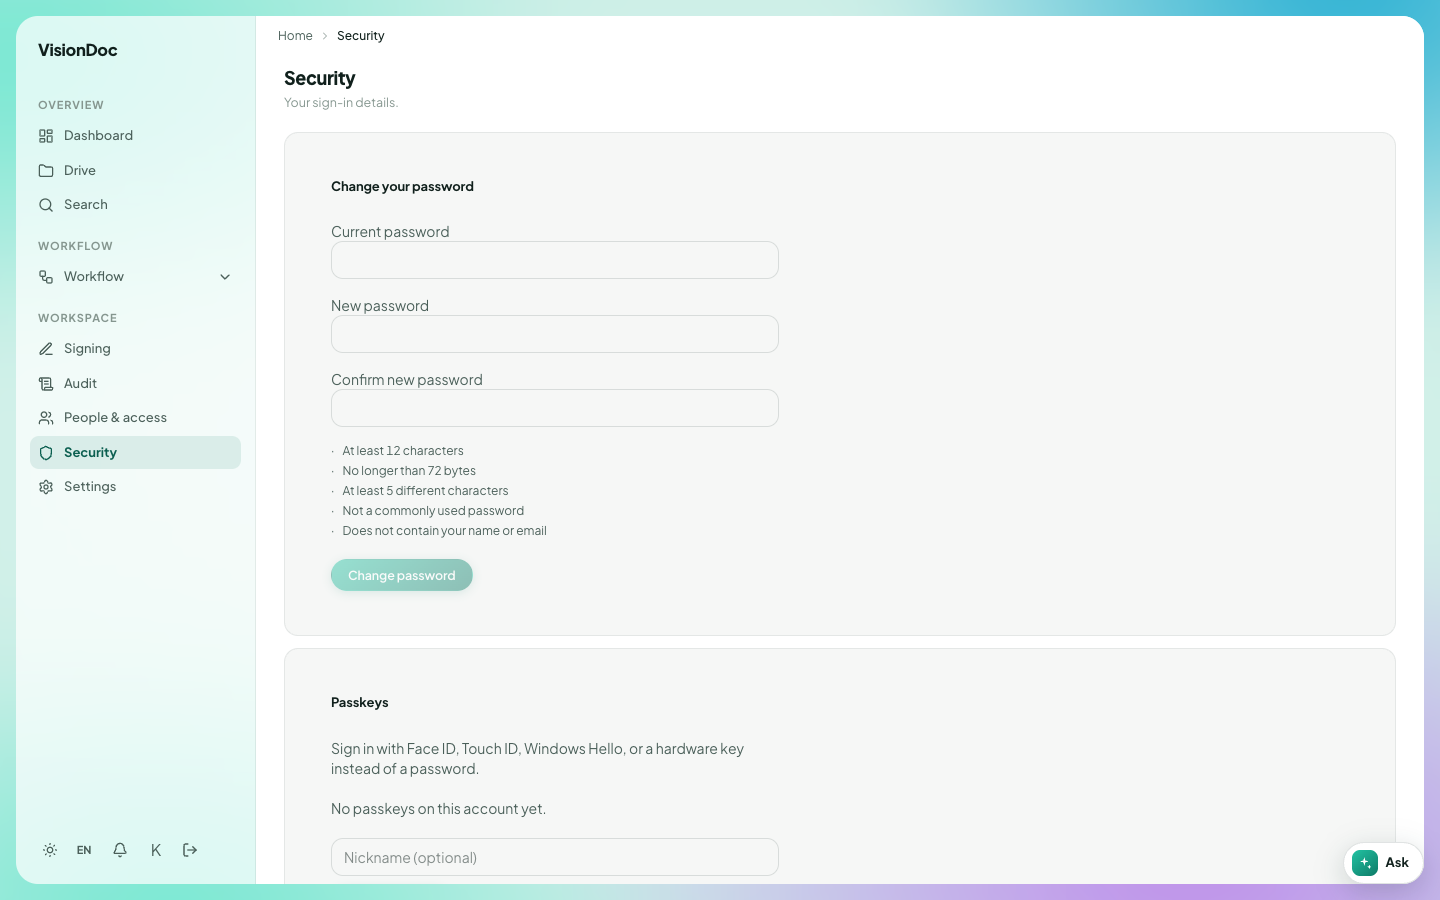
Change your password asks for Current password, New password, and Confirm new password. The new password has to be:
- At least 12 characters
- No longer than 72 bytes
- At least 5 different characters
- Not a commonly used password
- Not containing your name or email
Change password saves it.
Passkeys lets you sign in with Face ID, Touch ID, Windows Hello, or a hardware key instead of a password. The picture says No passkeys on this account yet. Nickname (optional) is the name you give that key.
Example: replace a short password with one of 12 characters that does not contain your name. Type it twice, then click Change password. To stop typing it, add a passkey on this same page and give it a nickname such as "Office laptop". The sign-in page then offers Sign in with a passkey.
Settings
Settings reads Sign-in, masking, watermark, and how this workspace runs.
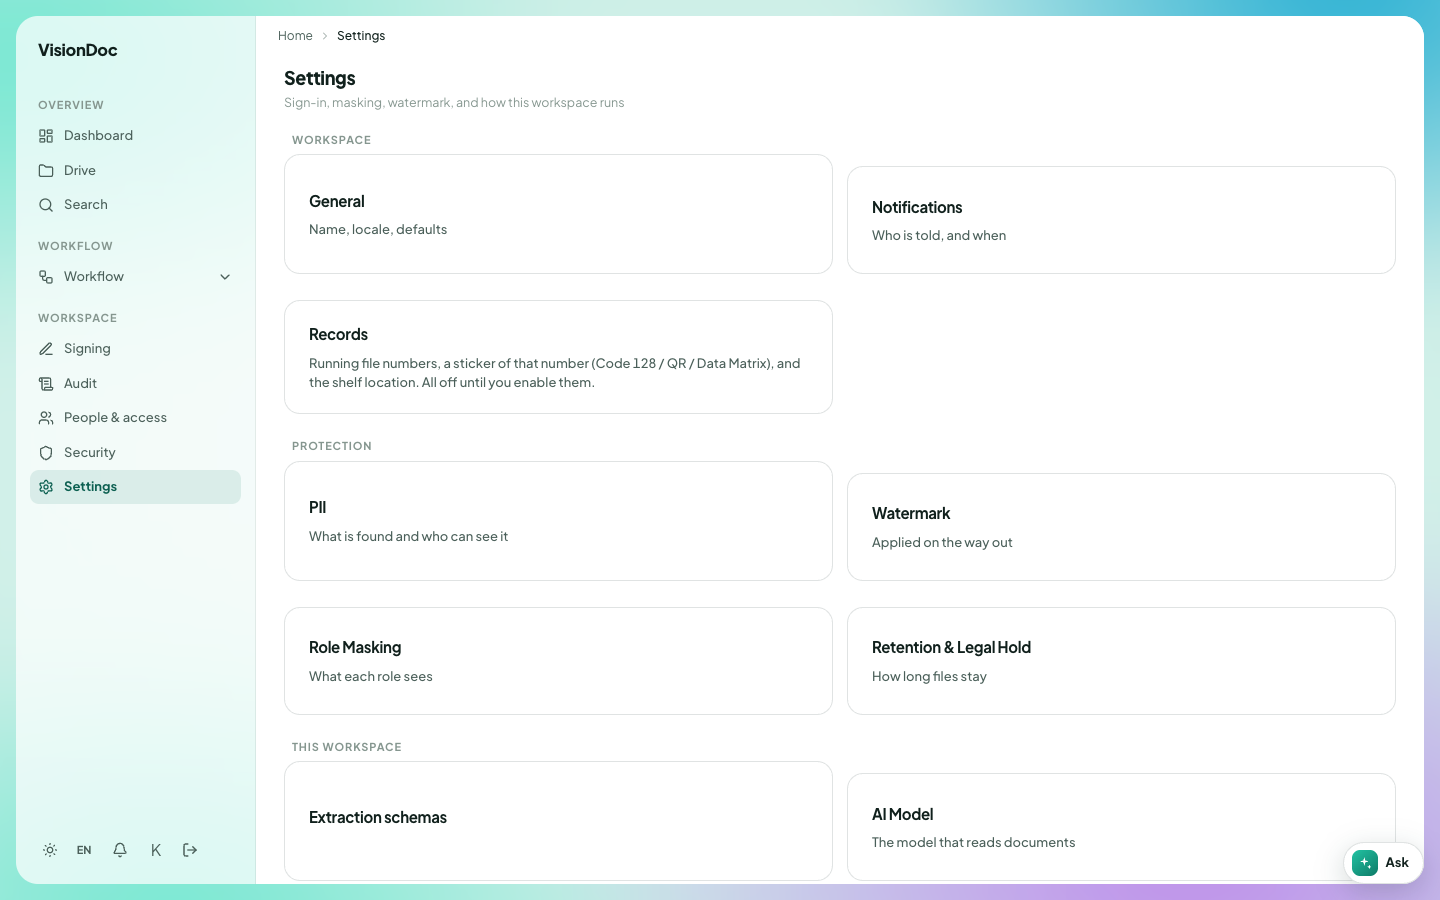
| Card | What it is |
|---|---|
| General | Name, locale, defaults |
| Notifications | Who is told, and when |
| Records | Running file numbers, a sticker of that number (Code 128 / QR / Data Matrix), and the shelf location. All off until you enable them |
| PII | What is found and who can see it |
| Watermark | Applied on the way out |
| Role Masking | What each role sees |
| Retention & Legal Hold | How long files stay |
| Extraction schemas | How fields are read off a document |
| AI Model | The model that reads documents |
Example: the company wants Traditional Chinese as the default. Open General and set the locale there. To put a running number on each new file, open Records and turn that on. Until then the card stays off, which is what the picture says. Notifications is where you choose who hears about a file that needs review, and when.